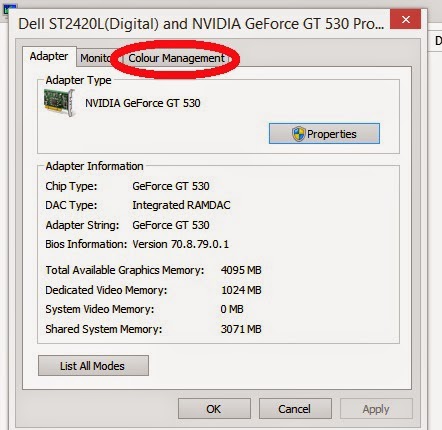
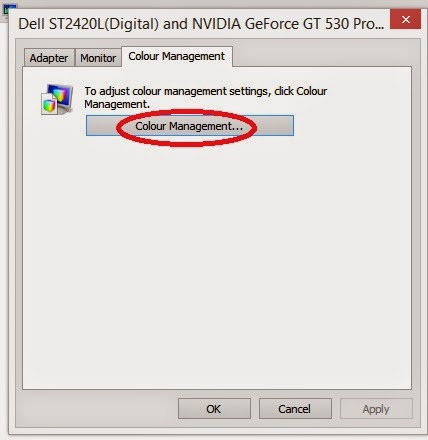
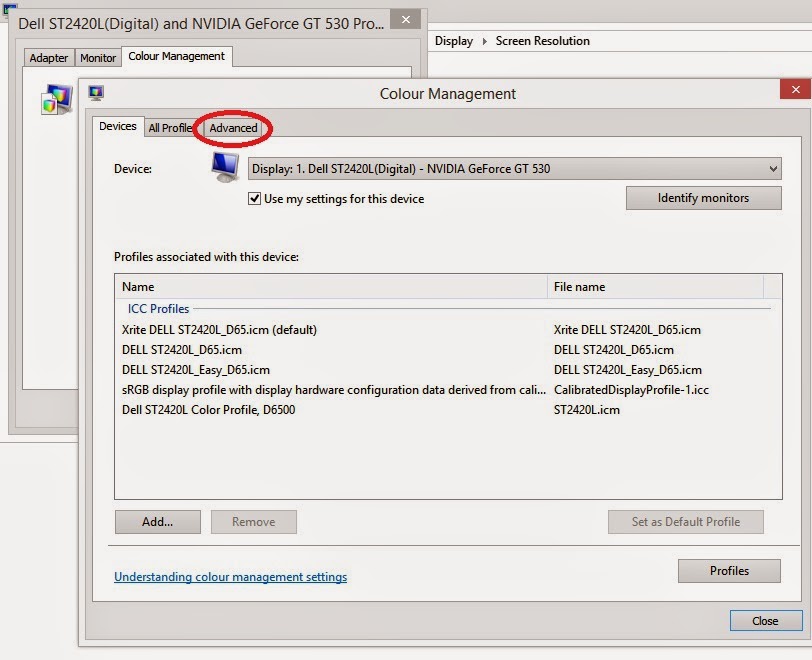
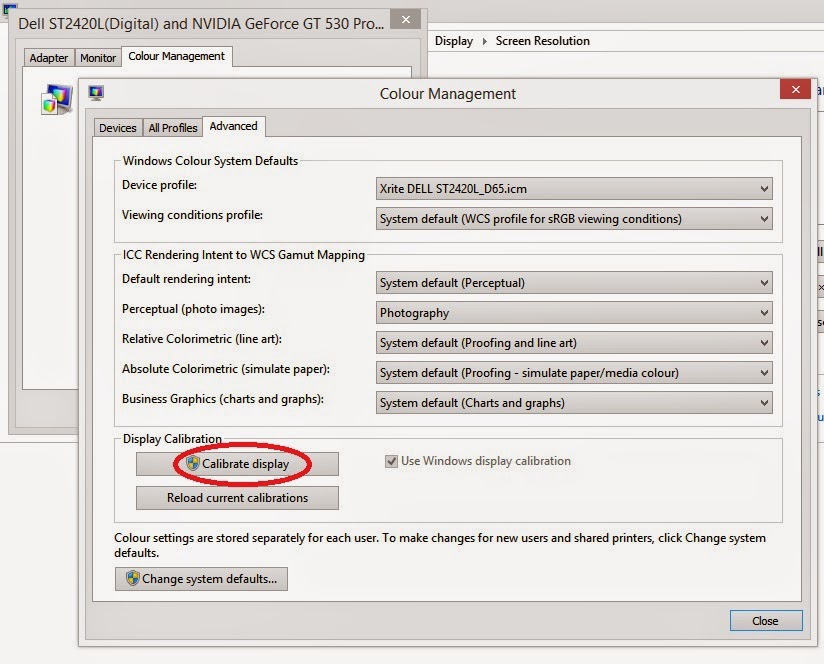
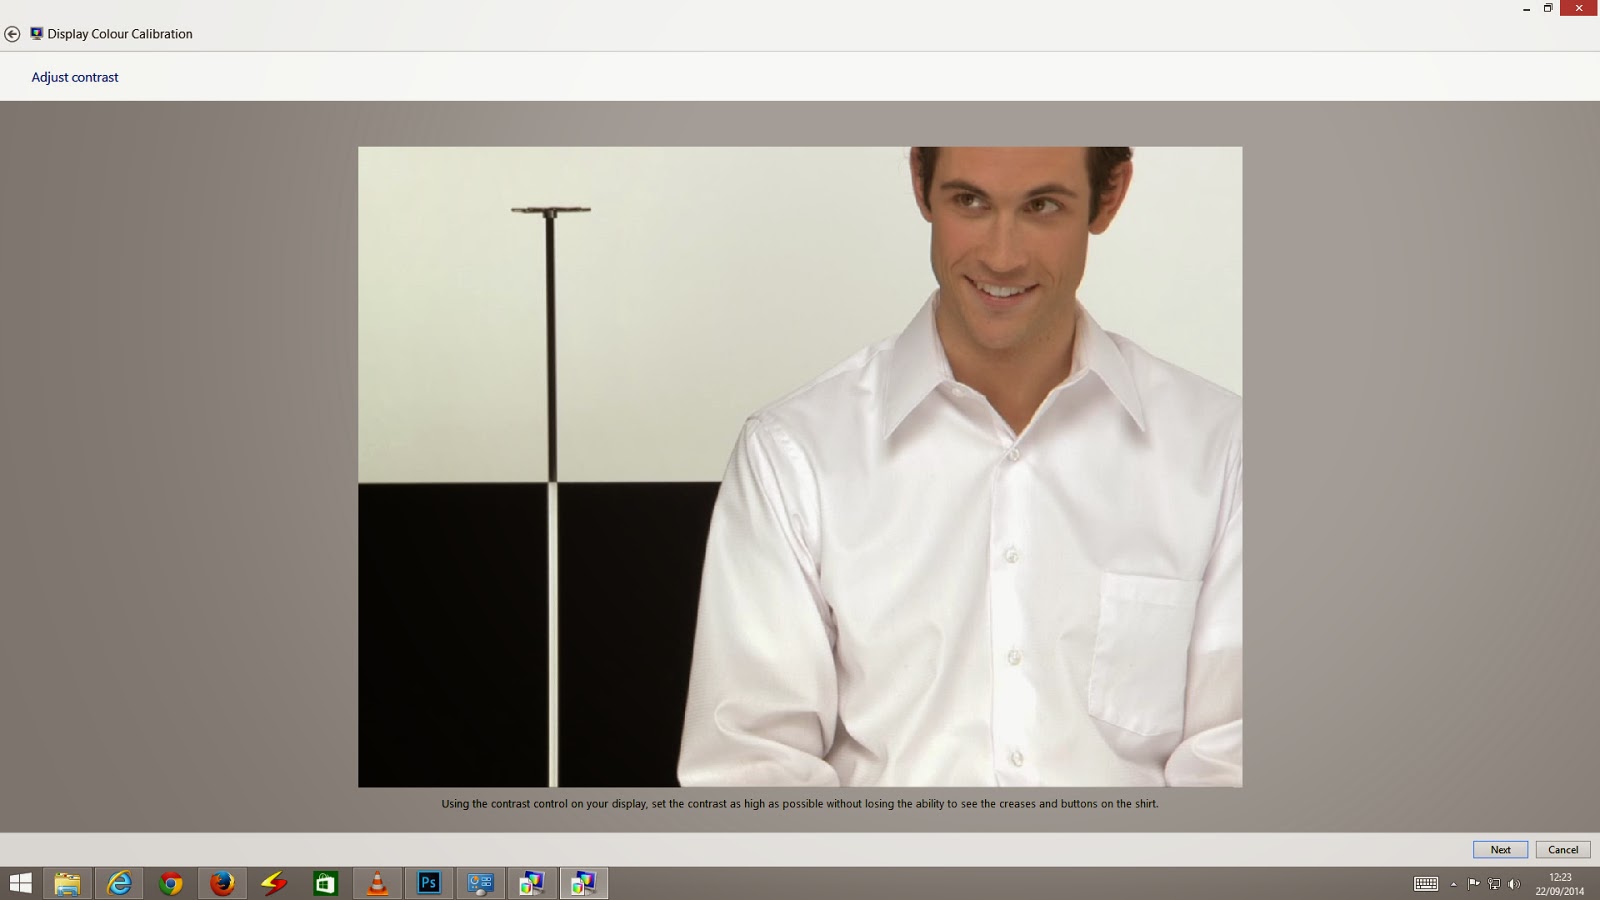
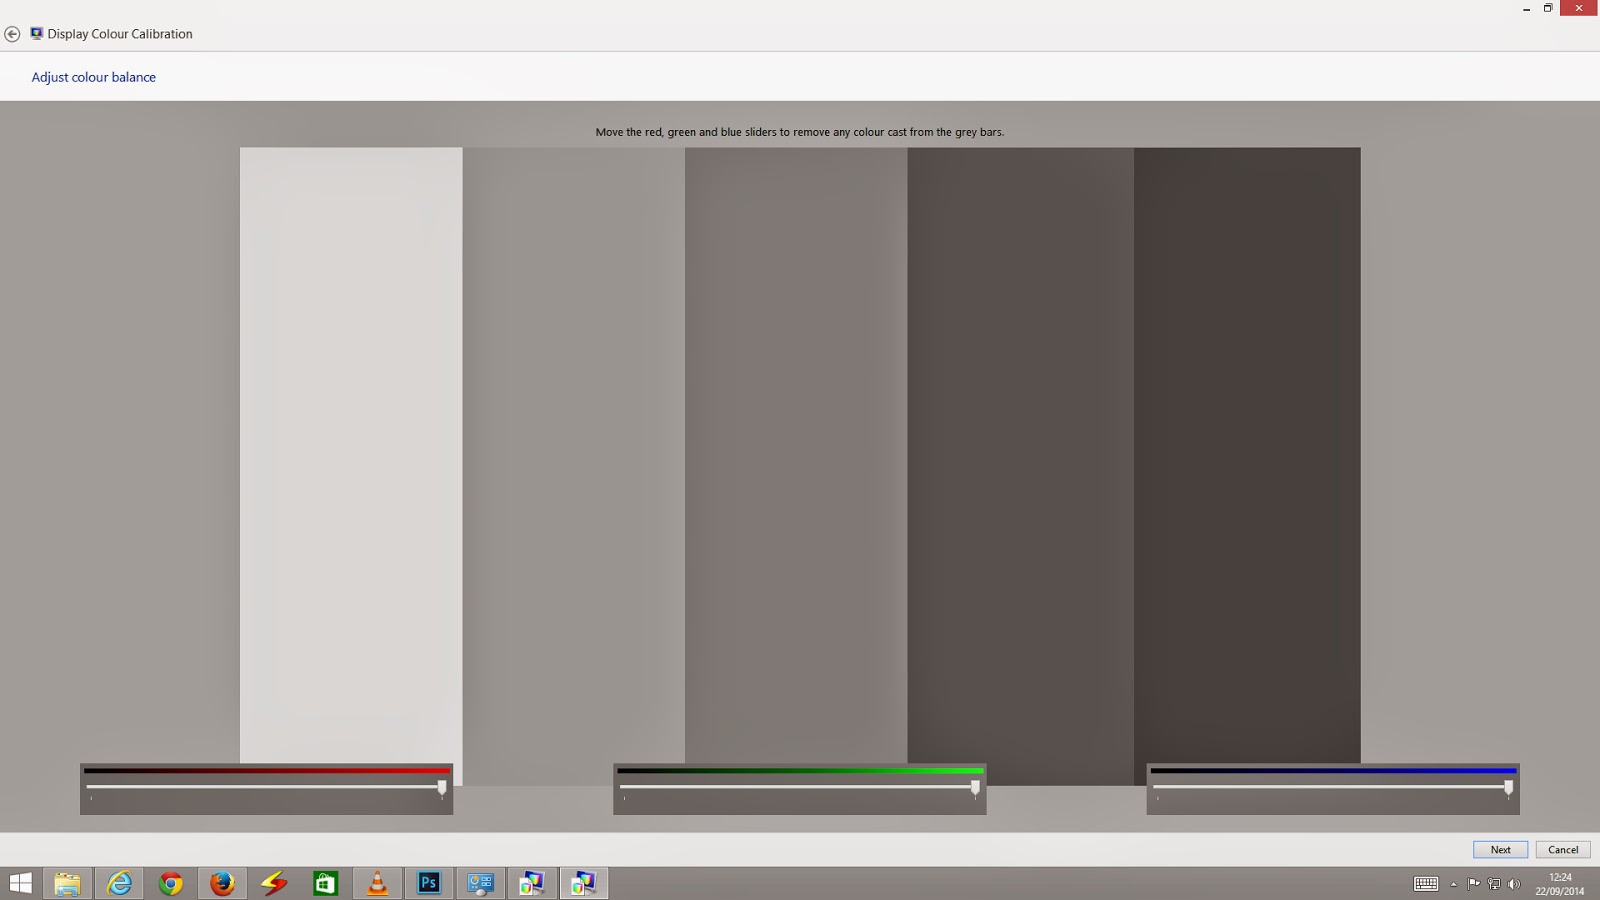
I would like to apologize to my readers for the delay in publishing this blog. The delay was partly due to setting up, calibrating and trying out my new
Sekonic L758 lightmeter. I will cover the advantages of using a
light meter like this in a future blog.
In the good old days of film photography, one was more careful about good composition and exposure, primarily because of the cost of film and processing. Depending on the occasion, one would buy films in the minimum possible quantities. May be a roll or two for a long vacation, or a birthday party. It was not uncommon to have a roll with pictures of both, the New Year and Christmas of the same year. Cameras were rarely taken out from the cupboards. While taking pictures care was taken to ensure that the precious film was not wasted. Special care was taken to ensure proper composition and exposure. Those with simple cameras without auto exposure or metering, would carefully read the instruction sheets which came with the film rolls to determine the correct exposure or follow the
'sunny 16' rule. All this was important because, unlike the present, there was a long delay before one could see the results and the cost involved.
With the proliferation of digital photography all that has changed. The quest for perfection has got diluted somewhere down the line. As results can be seen instantaneously and cost of memory storage is low, the emphasis on proper composition and exposure seem to have taken the back seat. Taking multiple exposures of the same scene seems to be the order rather than exception. Even though the technology provides excellent tools for exposure control and composition, not many use them. Many still think that by buying costly equipment, their images will automatically turn out better. I have seen many who have advanced
bridge cameras or even
DSLR s but do not know anything about exposure compensation, shutter priority or aperture priority. Many are not even familiar with the working of the auto focus systems in their cameras. All that they care to know is to press the shutter and expect the camera to do all the heavy weightlifting for them. Infact one gentleman asked me if the Tv mode on his
Canon Powershot SX50HS bridge camera was intended for capturing images off the TV screen! Unfortunately very few bother to read the user manual. While my future blogs will surely cover the technicalities of exposure I would request the readers to try out the following over the next few days:
1. Read the instruction manual of your camera. If you have lost the camera manual, you can easily download the same from the website of your camera manufacturers' website. In particular read about the different exposure modes available on your camera and how to set up your camera for the exposure mode you want.
2. Consider each exposure as precious (as in the film days!). Think carefully before pressing the shutter release button.
3. Switch your camera to
Aperture Priority mode (A or Av mode) or
Shutter Priority mode (S or Tv). In other words move away from the P or any fully automatic mode. Learn more about depth of field. Try out shooting with different aperture, starting with the widest your camera provides. Do not get confused with the numbers, small numbers indicates large apertures and vice versa . f/3.5 is a larger aperture than, say, f/8. Take pictures of a flower or plant at different apertures and see what happens to the background. See how you can freeze a moving object by using a fast shutter speed of deliberately blur it by using a slow shutter speed. If you have a camera (or a cell phone) which has no means to control aperture or shutter speed, do not worry, move on to the next step. I will cover
depth of field in a future blog.
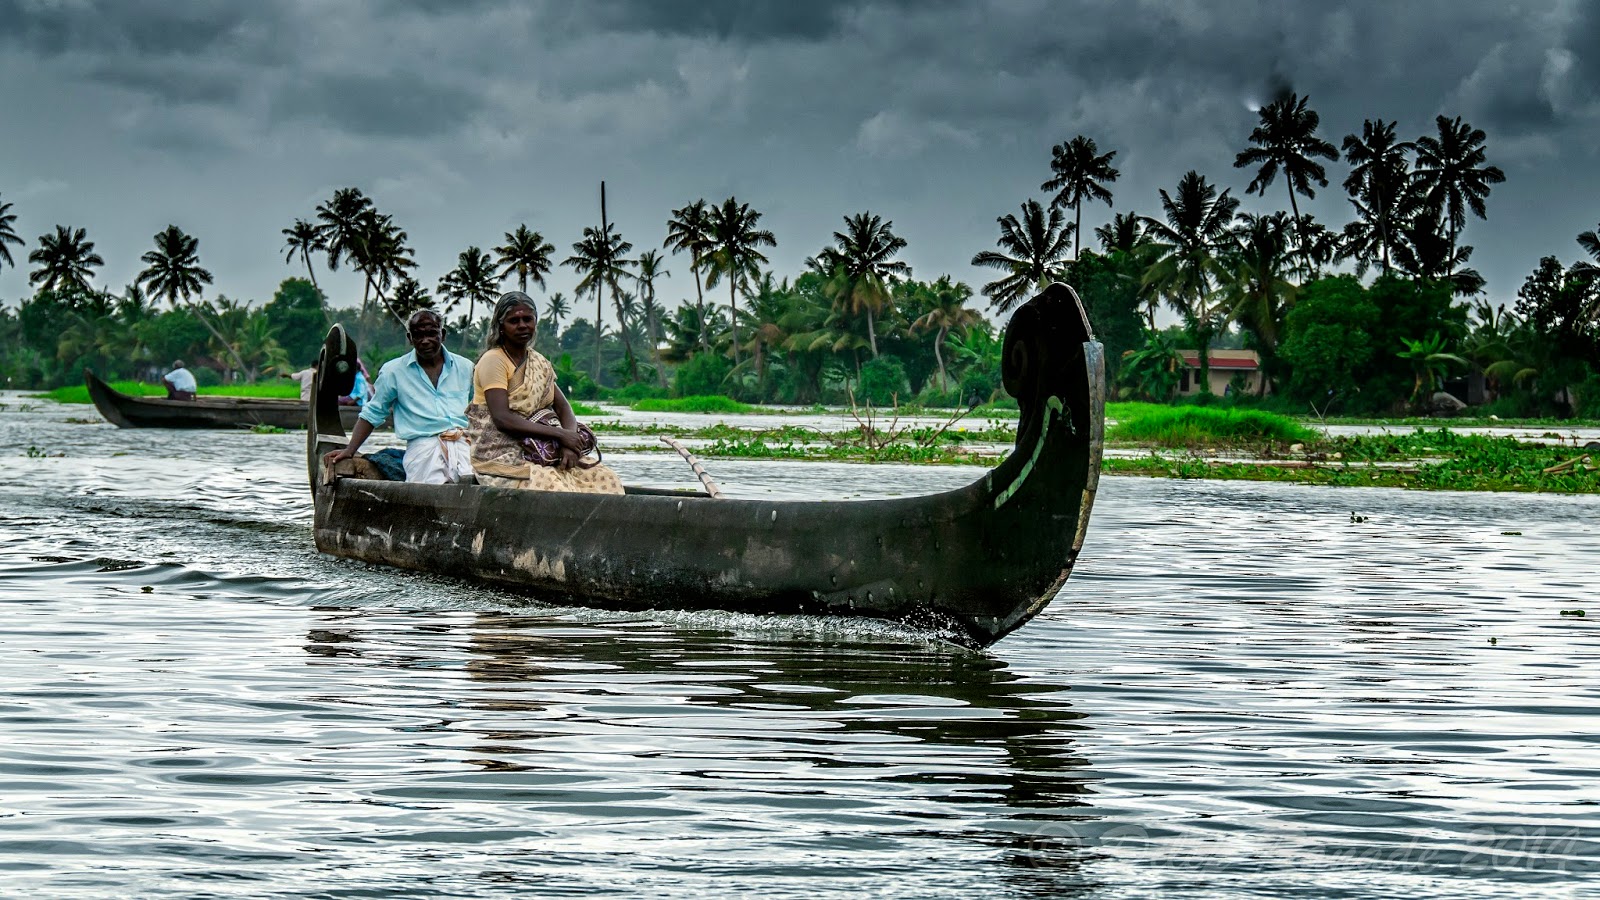 |
| A proper exposure is essential to bring out details in the shadows and highlights.In this picture even a slight overexposure would have resulted in washed out sky. |
4. Before pressing the shutter button think about the final image. Will the image convey to its viewer what you intend it to convey? Is the lighting right? Is the composition balanced? Is the background distracting? Is there any unintended object in the frame? (This could very well be your camera bag or a lens cap!) Is the horizon straight and appropriately placed for the image? How is the sky? An overcast grey sky devoid of any detail can adversely impact an otherwise perfect image. You will be surprised that by moving a few steps forward or backward or bending a little can make a lot of difference to the image.
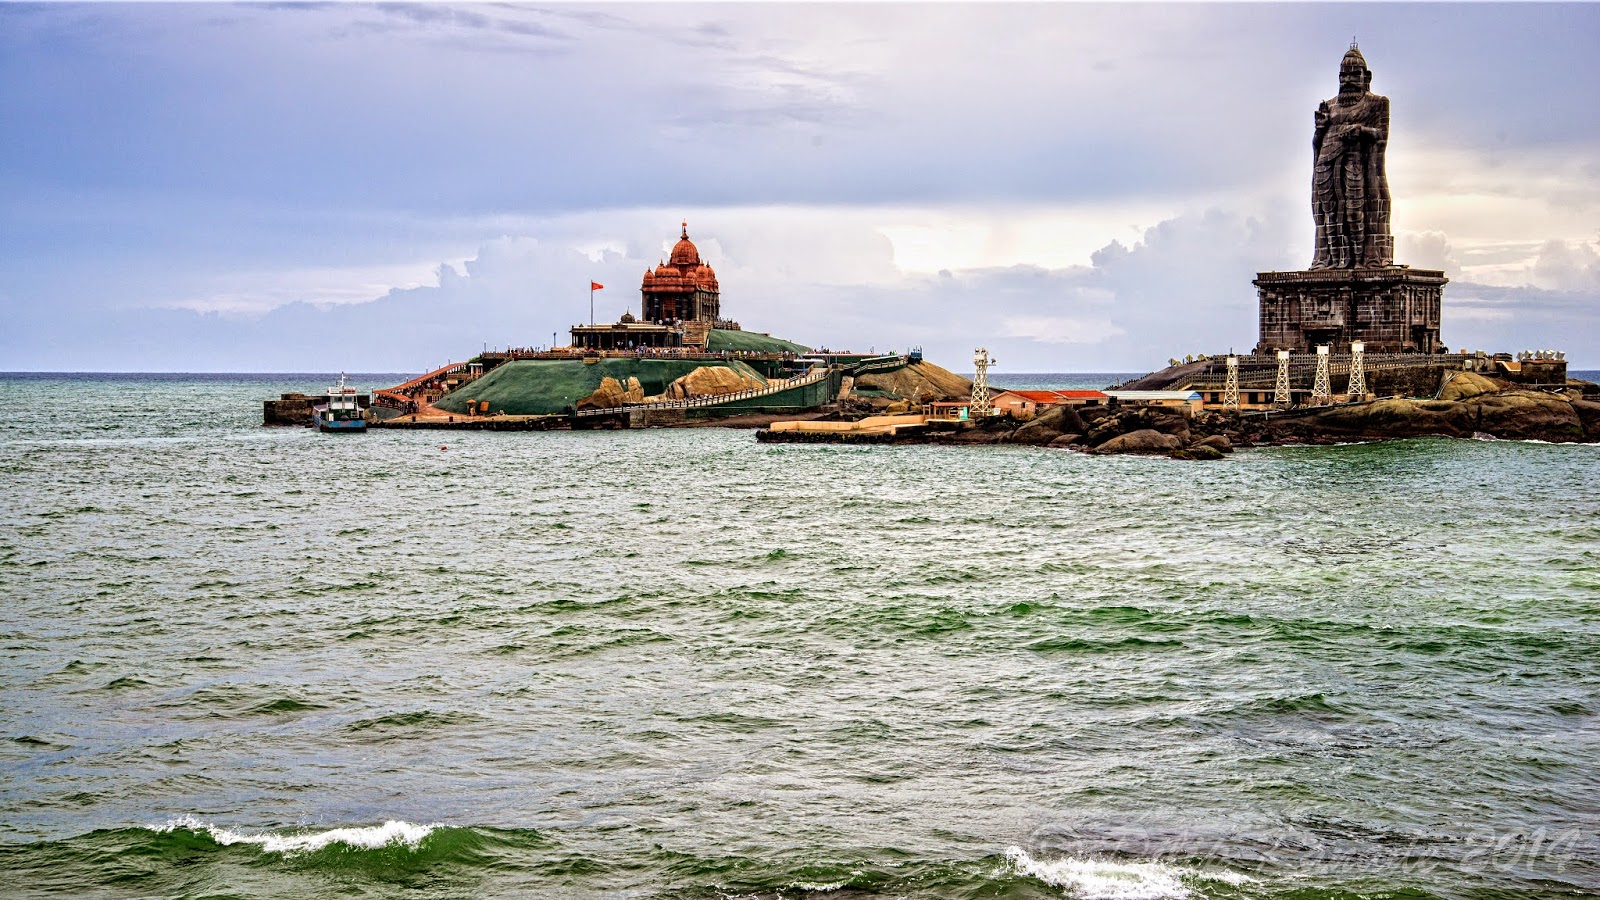 |
| It is essential to ensure proper exposure for the sky. At the same time the details on the statue are clearly visible |
5.) After you get back to your computer, evaluate your image critically. Your camera's LCD screen is too small for a proper evaluation. See if the exposure is correct. Has the image been composed well? Are there any distracting elements in the image? Is the horizon straight? Does your portrait suffer from red eye? Is the image free from any colour cast? Is the focus tack sharp? Is there an unintended motion blur? Any evidence of camera shake? I will surely cover many of the issues in my blogs but you can surely evaluate your pictures and plan for better images in future.
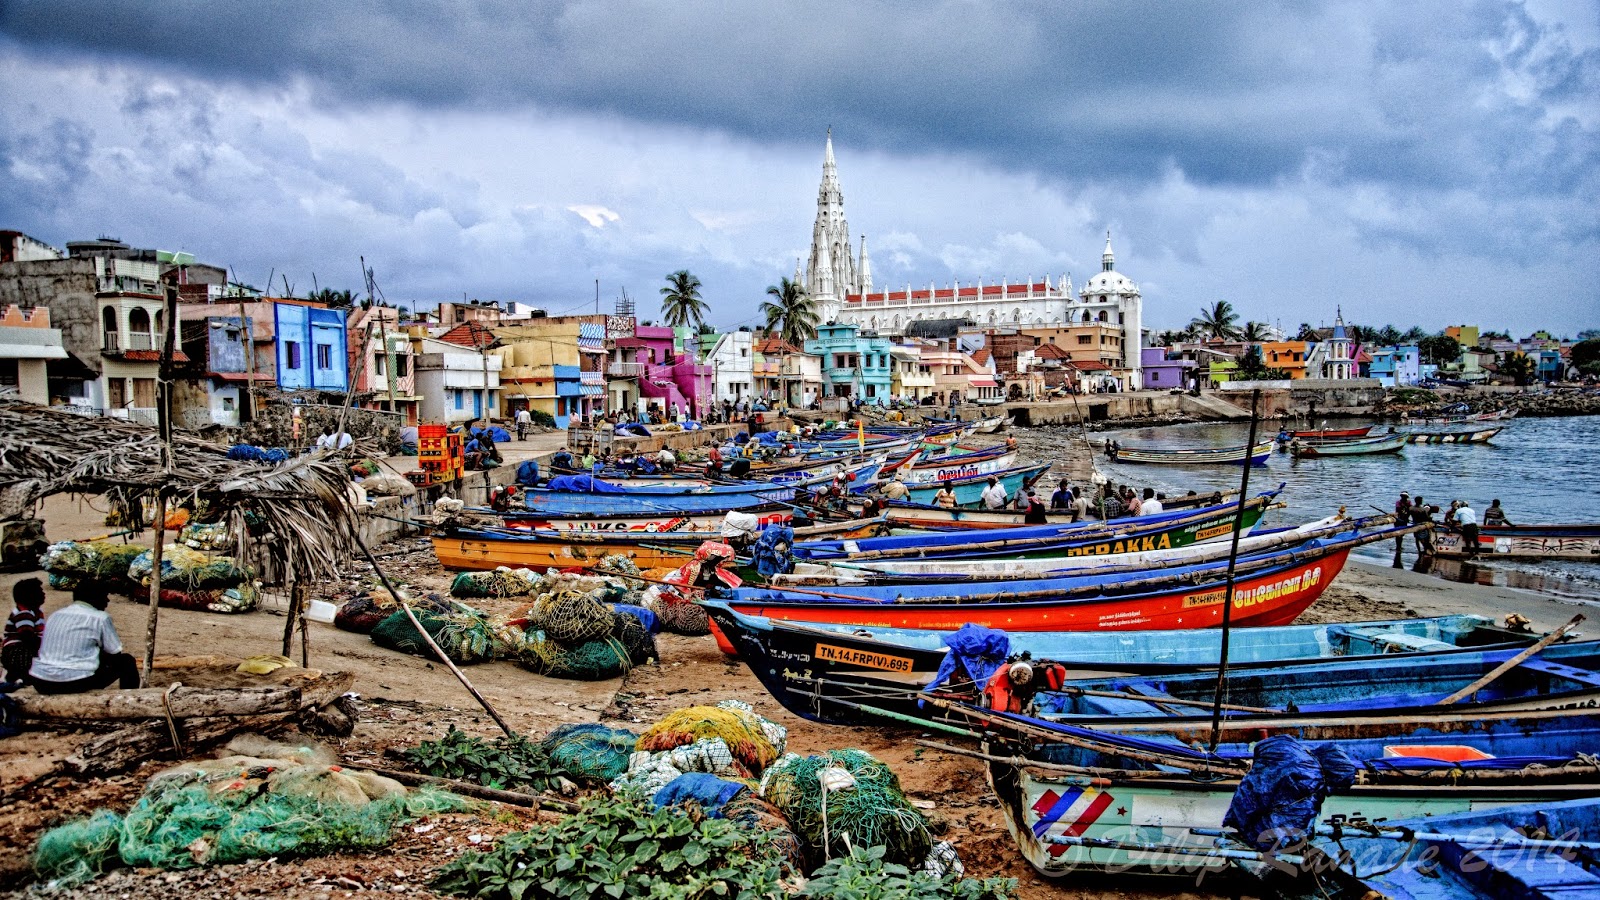 |
| Colors, and rows of boat visually lead your eyes to the church in the background. In landscape photography it is essential to have interesting foreground |
6.) While you should try to get your image right while shooting, do not shy away from post processing. All images coming out from a digital camera can greatly benefit from post processing in an image editor. This is true for images from a cell phone camera or even the most advanced DSLR. You do not require an advanced image editor like, Photoshop, Lightroom or Aperture to edit your images. Simple image editors like
Picasa are sufficient for basic image editing. You may also try out the image editing software that might have come with your camera. While in the image editor, you may adjust the exposure, brightness and contrast. Remove
R'ed Eye', straighten your horizon and crop your image for better composition.
7) Store your images meticulously. You should be able to retrieve any image without difficulty. Storage devices are becoming cheaper. Do consider investing in a high capacity external hard drive exclusively for your images. You may like to classify and name your folders appropriately for quick retrieval. You may also like to have a folder exclusively for your best images. This will serve as a great learning tool to enhance your skills.
8) Consider printing some of your images. There are many online print retailers. Nothing like having your own prints framed and decorating your wall.
9) You can easily show your images to your friends on any modern TVs. For most LCD/LED TVs an imaged cropped to an aspect ratio of 16:9 will appear as full screen without any black crop band above and below your image. You will find
16:9 crop as one of the crop preset in any image editing software including Picasa.
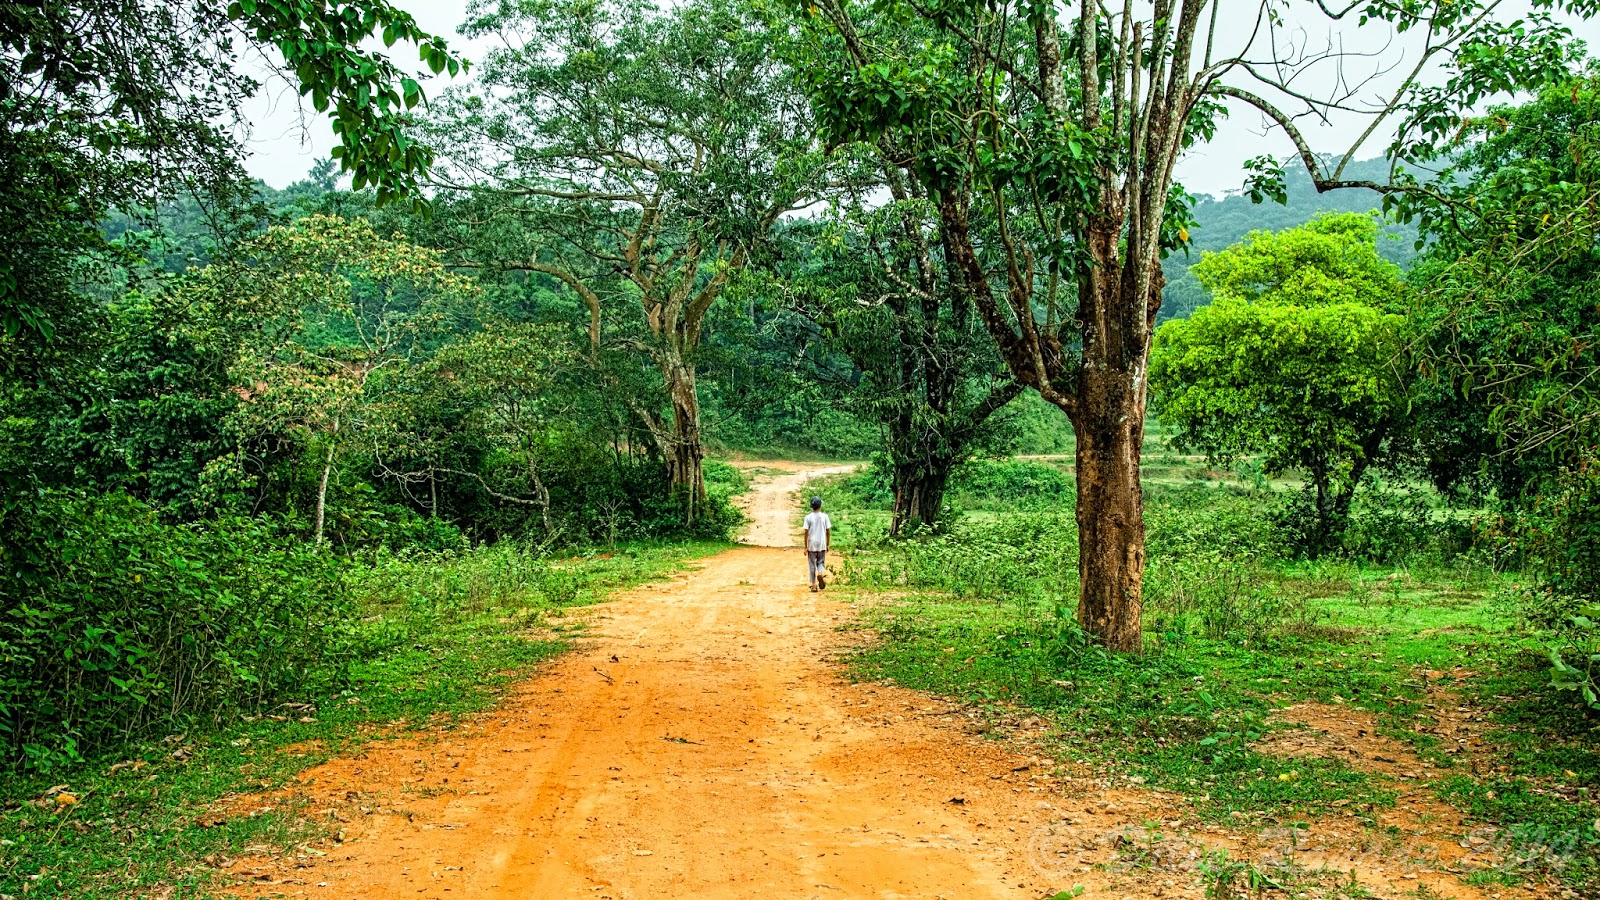 |
| Contrasting colours and a the dirt track visually lead you into the frame |
10) Share your images with your friends and relatives through on line albums like
Picasa and
Flicker or through social networking sites like
Facebook.
